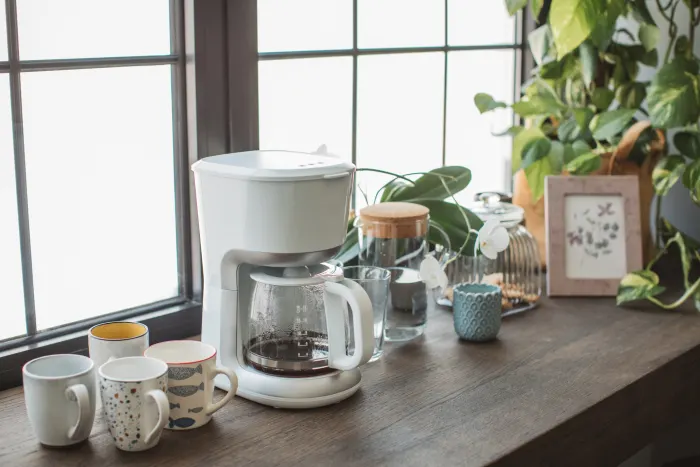
Cleaning your coffee maker may not be the most exciting task, but it’s essential for keeping your machine running smoothly and your coffee tasting fresh. Regular cleaning not only extends the life of your coffee maker but also ensures that you’re brewing the best cup of coffee possible each day.
Why Cleaning Your Coffee Maker is Important
Regular maintenance of your coffee maker is vital for a few key reasons. According to cleaning experts, regular cleaning helps eliminate the buildup of bacteria, coffee oils, mold, and mineral deposits. Katie Dills, a cleaning expert, emphasizes that, “Cleaning your coffee maker regularly helps ensure your coffee tastes fresh and extends the life of your machine.” Without cleaning, these buildups can clog the coffee maker, slow down the brewing process, and, most importantly, affect the flavor and quality of your coffee.
How Often Should You Clean Your Coffee Maker?
To ensure your coffee maker works efficiently, it’s recommended to clean and descale it every one to two months. Katie Dills advises, “Descaling removes mineral buildup that accumulates over time.” This process helps maintain the performance of your coffee maker and ensures a smoother brewing experience.
Signs That It’s Time to Clean Your Coffee Maker
There are several indicators that your coffee maker needs a cleaning session:
- Slow brewing: If your coffee is taking longer than usual to brew, it could be a sign of mineral buildup or clogged parts.
- Unusual taste or odor: A strange taste or smell may indicate that bacteria or old coffee oils have accumulated.
- Visible residue: If you notice any residue inside the machine, it’s definitely time for a cleaning.
Understanding Descaling and Its Importance
Descaling is a vital cleaning process that removes mineral deposits, often caused by hard water, that can accumulate inside the coffee maker. Dills explains, “Descaling involves running a vinegar and water solution through the machine, followed by a rinse with fresh water.” Descaling is essential for preventing blockages and ensuring that the coffee maker continues to brew effectively and efficiently.
Step-by-Step Guide to Cleaning Your Coffee Maker
Follow these steps to clean and descale your coffee maker thoroughly:
- Prepare the cleaning solution: Mix equal parts water and vinegar.
- Run half of the drip cycle: Start the brewing cycle, but pause it halfway to let the solution soak for about 30 minutes.
- Rinse the reservoir: After soaking, empty the reservoir and clean it with soap and hot water.
- Complete two water cycles: Run two full cycles of just water to flush out any vinegar residue.
- Add baking soda: For the final rinse, add a pinch of baking soda. If you notice fizzing, continue rinsing until all the vinegar is gone.
- Alternative cleaning method: If you prefer, Allen Rathey, an indoor health expert, suggests soaking the coffee maker’s reservoir overnight in a white vinegar solution or using citric acid (such as CLR) to break down mineral deposits.
- Cleaning coffee oils: For oily residue from coffee, apply undiluted dish soap and scrub with a toothbrush, then rinse thoroughly.
Daily Cleaning Tips to Maintain Your Coffee Maker
After each use, you can help reduce buildup by:
- Wiping down the exterior of your coffee maker.
- Discarding used coffee grounds.
- Rinsing the coffee pot and filter basket.
These simple tasks help maintain cleanliness, but a deep clean every one to two months is still necessary, especially if you use your coffee maker frequently.
Regular cleaning and descaling are essential for maintaining your coffee maker’s performance and ensuring you enjoy fresh, great-tasting coffee every day. By following these cleaning tips, you can extend the life of your coffee maker and improve the overall brewing process. So, make cleaning your coffee maker a regular part of your routine, and your machine will thank you with every cup of coffee!

