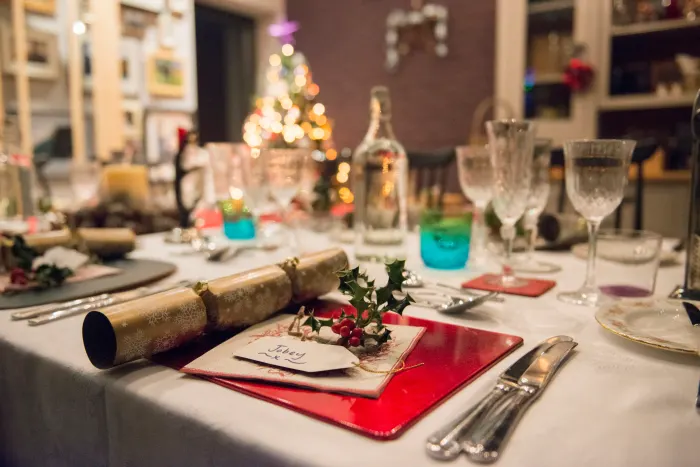
Thanksgiving is a time for family, friends, and delicious meals, and setting a beautiful table is part of the charm. One creative way to elevate your tablescape is by making personalized DIY place cards that double as Christmas ornaments. This idea offers a practical and heartwarming way to show your guests where to sit while also giving them a special keepsake they can cherish during the holiday season.
Why These Place Cards Are So Special
These DIY place cards, designed by crafter Jess, are made from simple materials including air-dry clay, ribbon, stamps, and dried orange slices. What makes them unique is their versatility. Not only do they serve as place cards for Thanksgiving, but they can also be used as Christmas tree ornaments, stocking tags, or even as gift tags during the holiday season. This dual-purpose design makes these creations both functional and thoughtful, offering your guests something they can keep long after the meal is over.
How to Create DIY Holiday Place Cards
While creating personalized place cards may not be something everyone does for Thanksgiving, Jess’ design is simple enough to be used for many other occasions. Whether for holiday gift tags, ornaments, or stocking decorations, these place cards are easy to craft and affordable.
Materials You’ll Need:
- Air-dry clay
- Ribbon
- Letter stamps
- Dried orange slices
- Clay glaze (optional, or use vegetable oil for a shiny finish)
- Ruler and X-Acto knife for precise cuts
- Awl for making holes for the ribbon
While Jess offers a kit with all the materials for $70, you can easily gather the necessary supplies for a fraction of the cost. Air-dry clay is inexpensive and can be found at most craft stores. Ribbon and clay glaze are also budget-friendly, and letter stamps can be purchased online for under $10. The total cost for the materials is much lower than purchasing a pre-made kit.
Step-by-Step Instructions for Creating Your Place Cards
- Prepare the Orange Slices: To create the dried orange slices, slice a ripe orange, discarding the ends. Use paper towels to blot excess moisture. You can either use an awl to make a hole in the slice for the ribbon or do it after drying. Arrange the slices on a wire rack on a baking sheet, ensuring they don’t touch. Set your oven to the lowest temperature and bake for 2 to 3 hours, turning the slices every 30-45 minutes. Once dry, let them cool completely.
- Make the Clay Place Cards: Roll out the air-dry clay to your desired thickness. Use a ruler to cut rectangular shapes for the place cards. Then, use letter stamps to imprint your guests’ names on the cards. For a polished look, apply a coat of clay glaze or vegetable oil.
- Assemble the Cards: Once the clay pieces are dry, attach the dried orange slices using a small piece of ribbon. The ribbon can also serve as a way to hang the ornament if your guests choose to keep it for Christmas.
Perfect for Gifts and Decorations
Not only are these DIY place cards perfect for Thanksgiving, but they also make wonderful, inexpensive gifts. They’re great for teachers, hosts, or anyone you want to show appreciation to during the holidays. Giving handmade gifts adds a personal touch that store-bought items simply can’t match, and these DIY place cards are sure to be cherished by anyone who receives them.
Whether you’re looking for a way to elevate your Thanksgiving table or seeking a thoughtful holiday gift, these DIY place cards that double as Christmas ornaments are a creative and cost-effective option. With just a few simple materials, you can create a memorable and functional gift that will remind your guests of the special time spent with you. Happy crafting!


