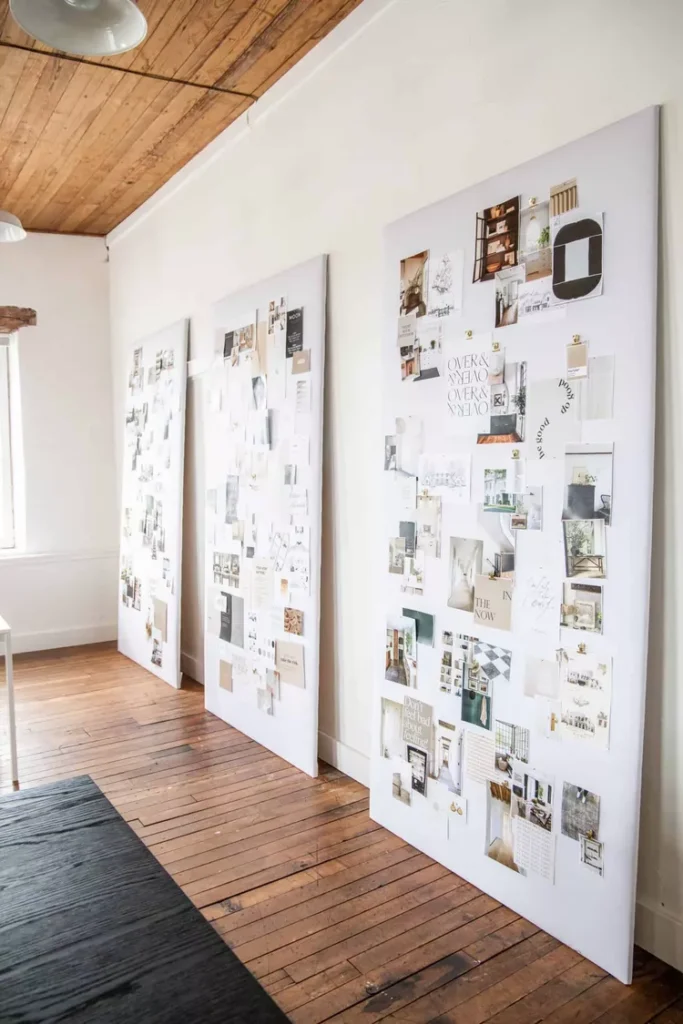
If you’re facing the challenge of decorating large, empty walls on a budget, life-size Pinterest boards might be the perfect solution. These DIY boards not only add style and personality to any space but also serve as a practical and low-cost alternative to expensive artwork. Here’s how you can make your own life-size Pinterest boards that double as eye-catching decor.
Materials Needed
- Plywood boards (size of your choice)
- Fabric (choose a neutral or themed fabric)
- Batting (preferably thick for better padding)
- Iron (to smooth out wrinkles)
- Stapler or staple gun
- Matching pins or clips for display
- Wall brackets (optional, if you prefer hanging them)
Step 1: Measure Your Space
The first step is to decide on the size of your Pinterest boards. Consider the available wall space and the height of the room. For a dramatic effect, opt for large boards like 4×8 feet to cover significant portions of the wall. Take measurements of your space before purchasing materials to ensure the boards fit your desired area.
Step 2: Select Fabric and Batting
Next, choose the fabric and batting that will cover the plywood. The fabric should be large enough to wrap around the plywood with some excess on the edges. Opt for a fabric that complements your room’s color scheme. For example, a crisp white fabric works well to highlight the images, while vibrant prints can create a bold look. The batting provides softness and depth, adding texture to the display.
Step 3: Assemble the Board
To create your board, first iron out any wrinkles in the fabric. Lay the fabric flat on the ground, then add a layer of batting on top. Afterward, position the plywood in the center of the fabric and staple the fabric around the edges, pulling tightly to ensure a smooth surface. Fold the corners neatly, much like wrapping a present, for a polished look.
Step 4: Add Personal Inspiration
This is where the creative fun begins. Print photos, quotes, or even color swatches that reflect your style and vision. Consider using a cohesive color palette or theme for the items you pin to the board. For a more polished look, print your images on cardstock. Pin the materials to your board using matching pins or clips for a unified aesthetic. Add texture by attaching fabric swatches, paint chips, or small notes that align with your design goals.
Step 5: Display or Hang the Boards
Once your board is assembled and adorned with inspiration, it’s time to display it. For a modern and flexible display, lean the board against the wall, allowing for easy rearranging. Alternatively, if you prefer to hang it, use French cleat brackets for secure mounting. Be sure to locate wall studs using a stud finder to ensure the boards are properly anchored.
Creating life-size Pinterest boards is an excellent way to bring personality and creativity into your space without breaking the bank. Not only are these boards customizable, but they’re also portable, making it easy to move them to different rooms as your decor needs evolve. With minimal effort and a few simple supplies, you can transform a blank wall into a stunning, personalized display.


